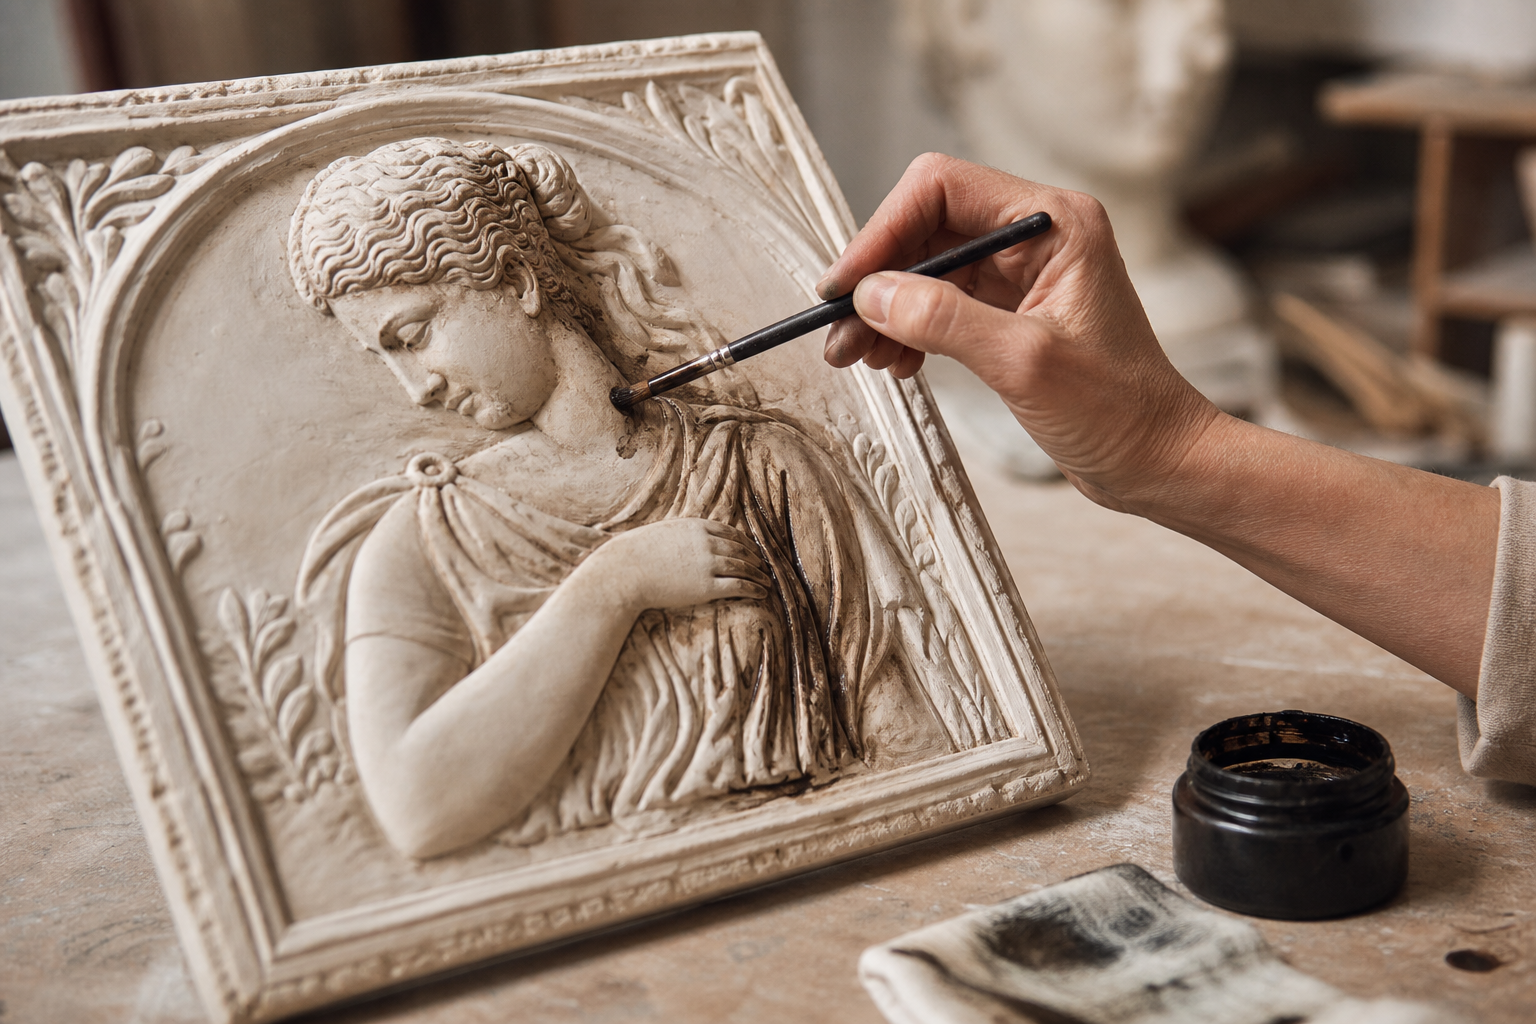
Bitumen of Judea is one of those materials that, when used well, can completely transform a piece. It adds depth, enhances reliefs, and helps create a very interesting aged effect on plaster, resin, clay, or prepared wood surfaces. The key is to apply it calmly, in light layers, and knowing when to remove the excess.
If you want to learn how to use it without losing detail or making the piece dirtier than necessary, here is a clear and practical guide to applying a Bitumen of Judea patina step by step.
Before you start: what you need
Gathering the materials before you begin will help you work more neatly and control the finish better.
- Bitumen of Judea.
- Brush, wide paintbrush, or soft cloth pad.
- Clean cloth or absorbent paper.
- Gloves.
- A small container for working with the product.
- The piece, dry and clean.
It is important that the surface is free of dust, grease, or loose residue. If the piece is very porous, it should ideally be prepared or sealed beforehand to prevent it from absorbing the bitumen unevenly.
Step 1: prepare the surface
Before applying any patina, inspect the piece carefully. Judea bitumen tends to settle more in recesses and darken absorbent areas, so a poorly prepared surface can produce an uneven result.
If needed, clean the piece with a dry or slightly damp cloth and let it dry completely. When the base is well prepared, the final finish is much easier to control and looks cleaner.
Step 2: apply a small amount
Less is more. One of the most important ideas when working with Bitumen of Judea is to start with a small amount. You can pick up the product with a brush or cloth and spread it gently over the piece.
Do not try to cover the entire surface at once as if it were opaque paint. The goal is not to cover, but to tint, deepen, and tone. If you apply too much at the beginning, it will be harder to correct later.
Step 3: distribute the patina by areas
Once the bitumen is in place, spread it across the surface with broad, controlled movements. Work in sections so you do not lose control over drying time or the visual effect.
At this stage you can focus a little more on corners, joints, textures, or naturally shaded areas. This is where Bitumen of Judea adds the most richness, because it intensifies volume and makes reliefs easier to read.
Useful tip
If you want a subtler effect, spread the product and remove the excess immediately. If you are aiming for a more pronounced aged look, let the bitumen sit a little longer before wiping it off.
Step 4: remove the excess with a cloth
This step makes the difference between an elegant patina and a piece that is too dark. With a clean cloth or absorbent paper, remove part of the bitumen from the surface, leaving more in the recesses and less on the raised areas.
Do it gently, without rubbing too hard. The idea is to reveal the volume and preserve the depth effect. If you remove too much, you can always add a second pass later.
Step 5: let the drying do its work
Bitumen of Judea needs time to settle. Once the patina has been applied, let the piece dry according to the behavior of the product and the surface. It is not advisable to handle it immediately, because the finish may change as it dries and unwanted marks may appear.
Working patiently is essential. Very often the final tone looks better once the piece has rested and the product has lost part of its initial shine.
Step 6: correct or reinforce if needed
When the piece is dry, observe the result calmly. Is it too light? You can repeat the process in specific areas. Is it too dark? You may need to carefully remove some excess or soften it with a later layer of color, if your technique allows it.
The secret is to build the patina in layers, not to solve everything in a single application. That way you have more control over the finish and avoid losing important details.
Step 7: protect the finish
If the piece will be handled, displayed, or transported, it is a good idea to protect the surface with a product suitable for the base material. Bitumen of Judea on its own is not always enough to ensure good long-term durability.
Before protecting it, make sure the patina is completely dry. Then apply the protection system that best suits your work and the support.
Common mistakes to avoid
- Applying too much product from the start.
- Not cleaning the piece properly before beginning.
- Rubbing too hard and removing the entire patina.
- Forgetting that drying changes the final result.
- Not making test applications on a less visible area.
Making a small test before working on the final piece is always a good decision. It allows you to understand how the material behaves and adjust the amount of bitumen, the waiting time, and the way you remove the excess.

Conclusion
Applying a Bitumen of Judea patina step by step is not complicated, but it does require attention and judgment. If you prepare the surface well, apply a small amount, remove the excess carefully, and let the drying process do its part, you will achieve a richer, deeper, and more professional finish.
It is a very useful technique for adding character to your pieces and highlighting textures without losing naturalness. With practice, you will learn to control the aging effect and adapt the patina to the result you want in each project.