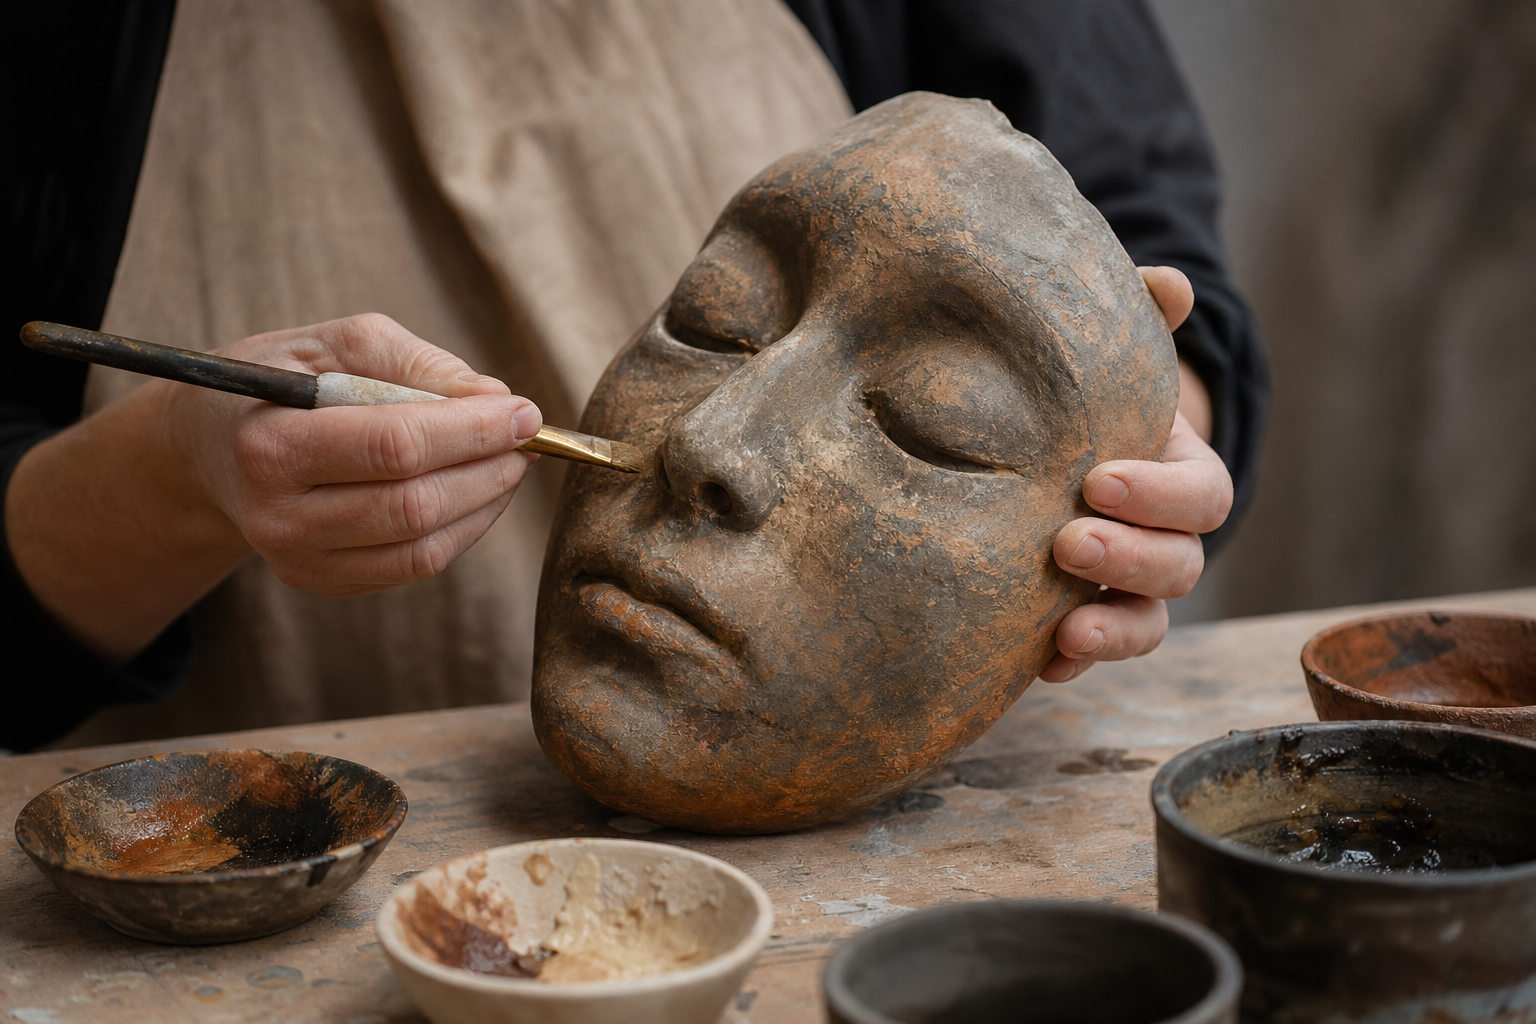
Patina is not just a decorative finish. On a clay mask, it can become a decisive tool for strengthening expression, separating planes, and making volumes read more clearly. When applied well, it helps the piece stop looking flat and acquire a richer, more vivid presence that is more consistent with the sculpted form.
In this article, we will focus on a very useful sculptural technique for students and beginners who are starting to patina their pieces: how to build a patina on a clay mask progressively, without losing the texture of the modeling and without letting the color cover the previous work. The idea is not to hide the sculpture, but to support it.
What a Good Patina Adds to Clay
When we model a mask, we put a great deal of effort into the reliefs, the eye sockets, the cheekbones, the nose, or the mouth. However, raw clay can still present a fairly uniform reading, especially if the surface is very smooth or if the light does not fall favorably. Patina makes it possible to introduce subtle contrasts that organize the viewer’s gaze and make the planes of the face visible.
In practical terms, a well-resolved patina can:
- highlight light and shadow areas;
- add greater depth to the eyes, nose, and lips;
- create a sense of aging or living material;
- unify small surface differences;
- reinforce the expressive character of the mask.
This is especially useful in figurative works, where the reading of the face depends greatly on the direction of the light and on how the color supports the modeling.
Preparing the Piece Before Patinating
Before applying any color, it is worth checking that the mask is completely dry, or at the appropriate stage depending on the finish we are going to use. If the surface still retains too much moisture, absorption will be irregular and the result may become blotchy or lose control.
Previous cleaning is also important. Dust, loose residue, or unwanted marks interfere with adhesion and with the final reading. A careful pass with a soft brush or a clean cloth can make a significant difference.
If the clay surface is very porous, it is advisable to test first in an inconspicuous area to see how it responds to the patina material. Each clay body absorbs differently, and that affects both the tone and the drying speed.
Building the Patina in Layers
One of the most common mistakes is trying to achieve the final effect in a single pass. In sculpture, and especially in patina work, patience usually gives better results. Working in layers allows better control of tone, makes it easier to correct excesses, and enriches the surface without saturating it.
1. Start with a Soft Base
The first layer should be light. Its function is not to darken immediately, but to establish a general atmosphere. You can start from a warm, cool, or neutral tone depending on the character you want to give the piece. What matters is that this base does not erase the reading of the original modeling.
Apply the color in a diluted way and remove the excess if necessary. This way, the pigment will settle into the recesses and leave the high points of the relief breathing.
2. Strengthen Shadows and Deep Areas
Once the base has been set, begin working on the shadows. On a mask, the eye cavities, the sides of the nose, the inside of the mouth, and the transitions below the cheekbones usually benefit from greater chromatic depth.
At this stage, the goal is not to paint a face, but to suggest volume. The strongest shadows should remain where the form folds inward or sinks. If they are distributed without logic, the piece loses credibility.
3. Recover Highlights and Focal Points
After darkening some areas, it is advisable to bring certain volumes back up. You can do this with lighter tones or with a drier application of the color, so that it only touches the highest reliefs.
The forehead, cheekbones, nasal bridge, and the arch of the mouth are often good places to recover light. This alternation between shadow and clarity is what gives the mask greater three-dimensionality.
How to Keep the Patina from Covering the Modeling
An effective patina does not compete with the sculpture. It supports it. That is why it is important to maintain continuous visual control while working. If the color begins to cover the entire surface uniformly, you have probably lost part of the relief.
To avoid this, keep three simple ideas in mind:
- use a small amount of product in each application;
- remove, blend, or soften when the tone looks too strong;
- respect the differences between high and low planes.
It is also worth observing the piece from a certain distance during the process. Up close, some effects may seem too intense, but from farther away they may work very well. Sculptural reading should always be checked with the full piece in front of you.
Common Mistakes When Patinating a Clay Mask
There are several mistakes that often repeat themselves when people begin working with patinas. The first is applying too much paint at once. The second is not respecting drying times between layers. The third is trying to fix everything with one final, uniform coat.
Another common failure is forgetting that clay already has its own texture. If the patina becomes opaque and closed, the surface loses richness. For that reason, it is often better to build a finish that allows the character of the piece to remain visible.
It is also important not to use colors without intention. Each tone should respond to a plastic decision: more warmth, more drama, more aging, more contrast, or more softness. Patinating is not about decorating, but about interpreting the sculpture.
A Good Patina Begins with Looking at the Form
Patinating a clay mask with criteria requires observing a great deal and touching little by little. The color should follow the anatomy, not erase it. If you understand where the light begins, where the shadow falls, and which areas support the expression, the finish stops being an add-on and becomes part of the work.
The best patina is the one that makes the viewer see the piece more clearly, not the one that imposes itself on it. When color, volume, and texture work together, the mask gains strength, depth, and presence. And that is precisely the goal of good sculptural technique.