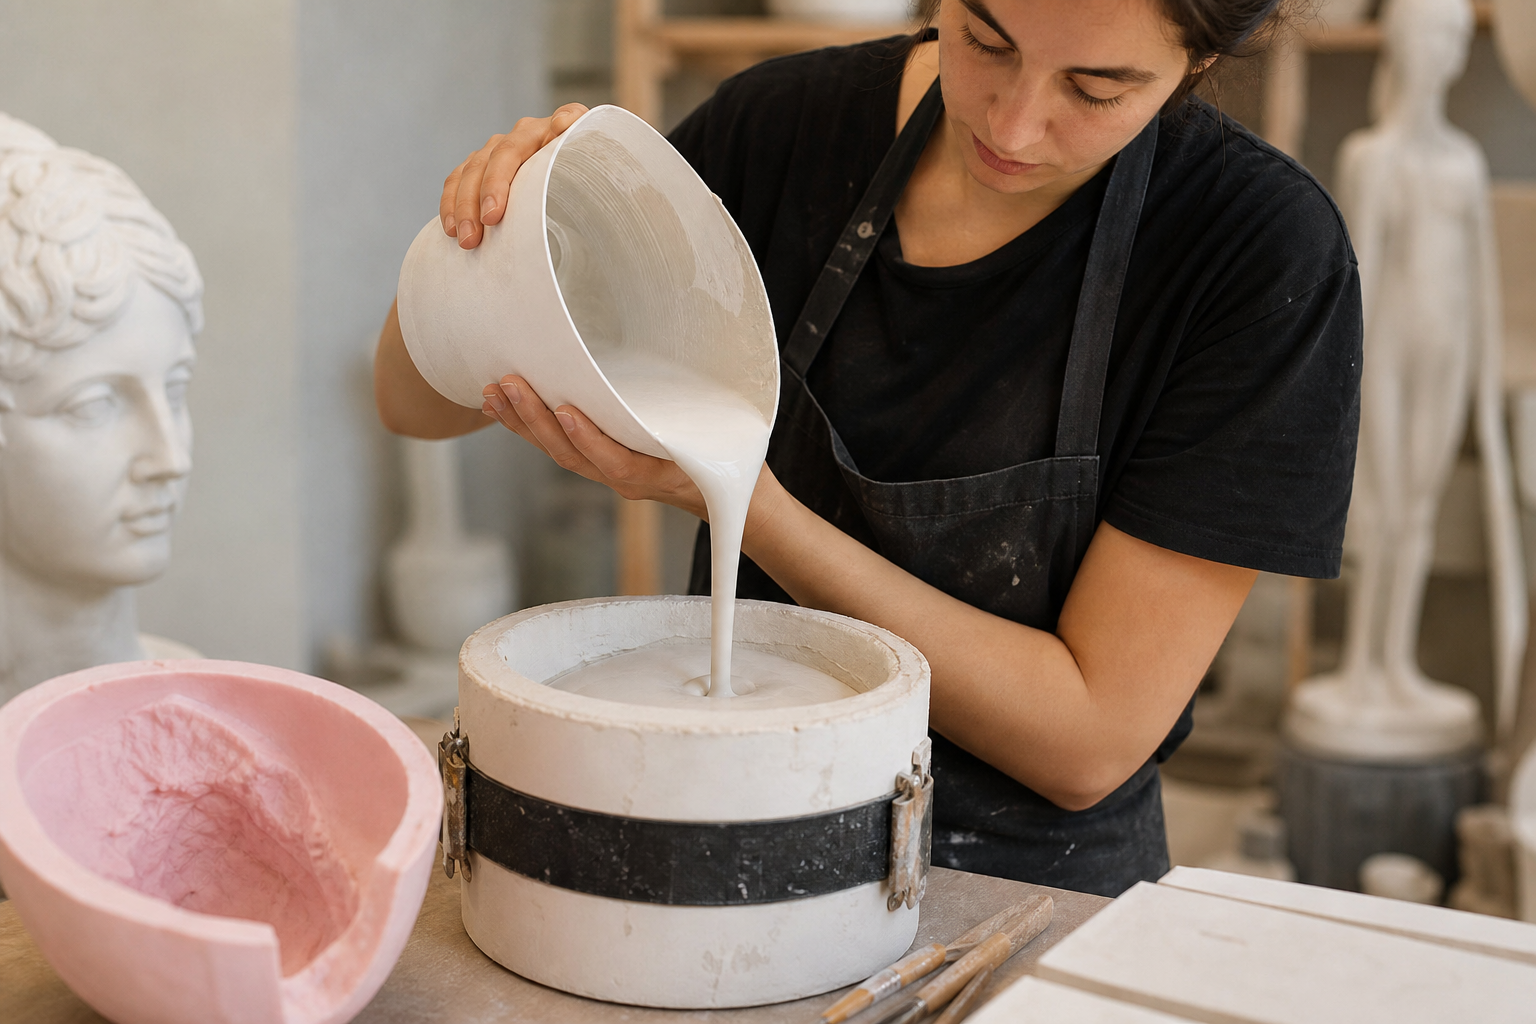
Working with a silicone mold and a plaster mother mold requires precision, patience, and good material preparation. Although silicone provides flexibility and makes demolding easier, the mother mold is what gives the whole assembly rigidity, shape, and security. That is why preparing the plaster properly is not a minor detail: it is a decisive part of the process.
In this practical guide, we will look at how to approach preparing plaster for a mother mold, which aspects you should check before applying it, and the most common mistakes that can make the result more difficult. The goal is to understand the role of each step so you can work with greater confidence, especially if you are following a reproduction process based on an original clay piece.
What role does plaster play in a mother mold?
Plaster does not work on its own: in this system, it works together with silicone to form a stable and reusable assembly. The silicone captures the detail of the original piece, and the plaster mother mold supports that flexible membrane so it keeps its shape.
This means the plaster must fulfill three basic functions:
- Give rigidity to the mold.
- Help maintain alignment between the different parts.
- Make handling easier during demolding and casting.
If the mother mold is too fragile, it may deform. If it is poorly distributed, it can create weak points or make the fit difficult. For that reason, before starting, it is worth thinking about the complete system and not just about “pouring plaster.”
Before mixing: preparing the workspace
Good preparation prevents improvisation once the plaster has already started to set. Keep the area clean, clear, and with all materials close at hand. In mold-making processes, the working time of the material is limited, so order matters.
Prepare in advance:
- The mixing container.
- The mixing tool.
- The water measured before adding the plaster.
- Protective and cleaning items.
- The silicone, ready to receive the plaster layers.
It is also important to check that the original piece and the flexible mold are correctly assembled and protected. If the silicone is not properly positioned, the plaster will copy that poor alignment and the mother mold will lose effectiveness.
How to prepare plaster correctly
1. Measure the water first
One of the most common mistakes is improvising the ratio while mixing. Having the water measured before you begin helps you control the consistency better and work more calmly.
The plaster should be fluid enough to spread well, but not so thin that it loses body or creates a weak mother mold. The goal is not to “stretch” the material, but to achieve a homogeneous and manageable mixture.
2. Add the plaster gradually
It is better to add the powder little by little, allowing it to absorb the water evenly. This helps avoid lumps and makes for a more stable mix. The final texture should allow the material to be applied in layers without running excessively or becoming too heavy.
3. Mix gently without incorporating too much air
Stir consistently, but do not overbeat. If you introduce too much air into the mix, you increase the risk of bubbles and voids that can weaken the mother mold. In addition, too vigorous mixing can alter the material’s behavior during application.
Think of plaster as a working mass that needs uniformity. The more homogeneous it is, the more reliable the final result will be.
Layered application: why it should not be done all at once
In a silicone mother mold, plaster is usually applied in several layers. This makes it easier to distribute thickness, control the shape, and increase the stability of the assembly. A single layer that is too thick can create tension, runs, or poorly seated areas.
Applying it in layers also helps the material adapt better to the silicone surface. In the first layers, the aim is to capture the form; in the following layers, to build body and strength.
First layer: coverage and adaptation
The first layer should settle well onto the silicone. Its function is to cover the surface and begin defining the mother mold’s shape. It is advisable to work carefully around reliefs, edges, and joints to avoid air pockets or areas without material.
Subsequent layers: volume and stability
Once the first application has settled, build the necessary thickness with more layers. At this stage, it is no longer just about coverage, but about providing structure. The mother mold needs enough thickness to be stable, but without unnecessary extra weight.
The balance between lightness and strength is key. A mother mold that is too thin may be unsafe; one that is excessively heavy can make handling and demolding difficult.
What to watch during setting
Plaster changes state quickly. That is why, during setting, it is best to observe the whole assembly and not leave it unchecked. Although each process may have its own timing, the practical rule is clear: do not move or handle it before the material has gained enough consistency.
During this phase, check that:
- The layers remain in place.
- No sagging or shifting appears.
- The thickness is as even as possible.
- The joints between parts keep their fit.
If you detect a problem early, it is usually easier to correct than when the material has fully hardened.
Demolding: how to remove the piece without forcing it
Once the plaster has set sufficiently, it is time to demold. This stage requires calm. The assembly should be opened without pulling or sudden movements so as not to damage either the silicone or the original piece, if it is still present in the process.
The logic is simple: the better the mother mold has been built, the cleaner the demolding will be. If any area offers resistance, it is better to check the joint line and look for an orderly opening rather than applying excessive force.
In a well-made mold, the mother mold follows the shape of the silicone and helps release the piece safely. If forced, breakage, chipping, or a loss of definition on edges and details can occur.
Trimming, cleaning, and checking the mother mold
After demolding, the work is not finished. It is very important to clean the mother mold and check its edges, joints, and supports. It may also be necessary to trim small excesses or irregularities so the assembly fits better and works more precisely.
This review is especially useful if the mold will be used for later casts. A poorly finished edge, a flash line, or a misaligned area can make closing harder and affect the quality of the copy.
The final inspection should focus on three aspects:
- That the mother mold seats correctly.
- That no residue interferes with the fit.
- That the working surface is clean and ready for use.
Common mistakes when preparing plaster
There are some recurring mistakes that are worth keeping in mind from the start. Detecting them early saves material, time, and frustration.
- Too watery a mix: reduces the stability of the mother mold.
- Poorly homogeneous mix: leaves lumps and weak areas.
- Rushed application: can create bubbles and voids.
- Insufficient thickness: the mother mold loses rigidity.
- Premature demolding: increases the risk of breakage or deformation.
- Not checking for flash lines: makes fitting and casting more difficult.
The good news is that almost all of these mistakes can be avoided with order, observation, and methodical preparation. In this type of process, precision matters more than speed.
How this preparation affects the first copy
Preparing the plaster for the mother mold properly does not only protect the mold: it also affects the quality of the first copy. If the assembly closes well, the casting can be carried out with more control and the reproduction will come out cleaner.
After casting, it will be important to remove the copy carefully, check for possible bubbles, and allow the piece to dry before applying any patina. All of that depends, to a large extent, on the mold and its mother mold having been built rigorously from the beginning.
Conclusion
Preparing plaster for a silicone mother mold is not a secondary task, but an essential part of the entire molding system. A well-made mix, layered application, balanced thickness, and careful demolding make the difference between a functional mother mold and a problematic one.
If you work in an orderly way and observe how the material responds at each stage, you will gain confidence and improve the quality of your reproductions. In a process like this, the plaster does not only support the silicone: it also supports the precision of the final result.